Unlock Your Raspberry Pi's Potential: Secure Remote Internet Access From Anywhere
The Raspberry Pi, with its compact size and low power consumption, has revolutionized the world of DIY electronics and embedded computing. From home automation to mini-servers, its versatility is unmatched. But what if you want to control your Raspberry Pi without being physically next to it? What if it's deployed in a remote location, perhaps monitoring sensors in your garden or acting as a media server in another room?
This is where remote internet access for Raspberry Pi becomes incredibly powerful. The idea is simple yet transformative: to control your Raspberry Pi from another computer, whether on the same local network or from anywhere in the world, as long as you have an internet connection. This guide will walk you through the compelling reasons to set up remote access, the requirements, and the most effective methods to achieve it securely.
Why Set Up Remote Access on Your Raspberry Pi?
There are several compelling reasons you may want to connect to your Pi remotely, making it an indispensable skill for any Raspberry Pi enthusiast:
- Unleash True Portability: The small footprint and low energy demands of Raspberry Pi make it ideal for remote deployment. Imagine a Pi acting as a security camera in a distant part of your property or a data logger in a hard-to-reach spot. Remote access makes managing such setups feasible.
- Save Space and Money: One of the biggest advantages is eliminating the need for a dedicated keyboard, mouse, and monitor. This saves you money on peripherals and valuable desk space, especially if you maintain a "fleet" of remote microcomputers. You can simply connect to your Pi from your existing laptop or desktop.
- Convenience and Flexibility: Accessing your Raspberry Pi from another computer is a common user request because of its sheer convenience. Whether you're at work, on vacation, or just in another room, you can check on your projects, update software, or troubleshoot issues without physical interaction.
- Manage Web Applications: If you're running a web server or a web application on your Raspberry Pi (for example, a Node.js web server), remote access is crucial for managing and monitoring it without direct physical access.
What You'll Need: Raspberry Pi Remote Access Requirements
Luckily, you won’t need much hardware to achieve our goal because the solutions we’ll discuss today mainly require remote desktop software and proper configuration. Here’s a quick checklist:
- A Raspberry Pi: Any model with internet connectivity will do.
- Internet Access: Your Raspberry Pi needs to be connected to the internet. An ethernet connection is recommended for speed and stability, but Wi-Fi works perfectly fine too.
- Power Supply: A reliable power supply for your Pi.
- A Host Computer: The device you'll use to access your Raspberry Pi (e.g., a laptop, desktop, or even a smartphone).
- Basic Raspberry Pi OS Setup: Ensure your Raspberry Pi is running Raspberry Pi OS (formerly Raspbian) and is up-to-date. Before you can remotely access your Raspberry Pi, you need to make sure that it is set up correctly and has network connectivity. You might need to check its IP address initially; for Wi-Fi, you can often find the IP address by checking the block where the general.type field reads `wifi` to find the IP address, or in the `ip4.address[1]` field for the IPv4 address.
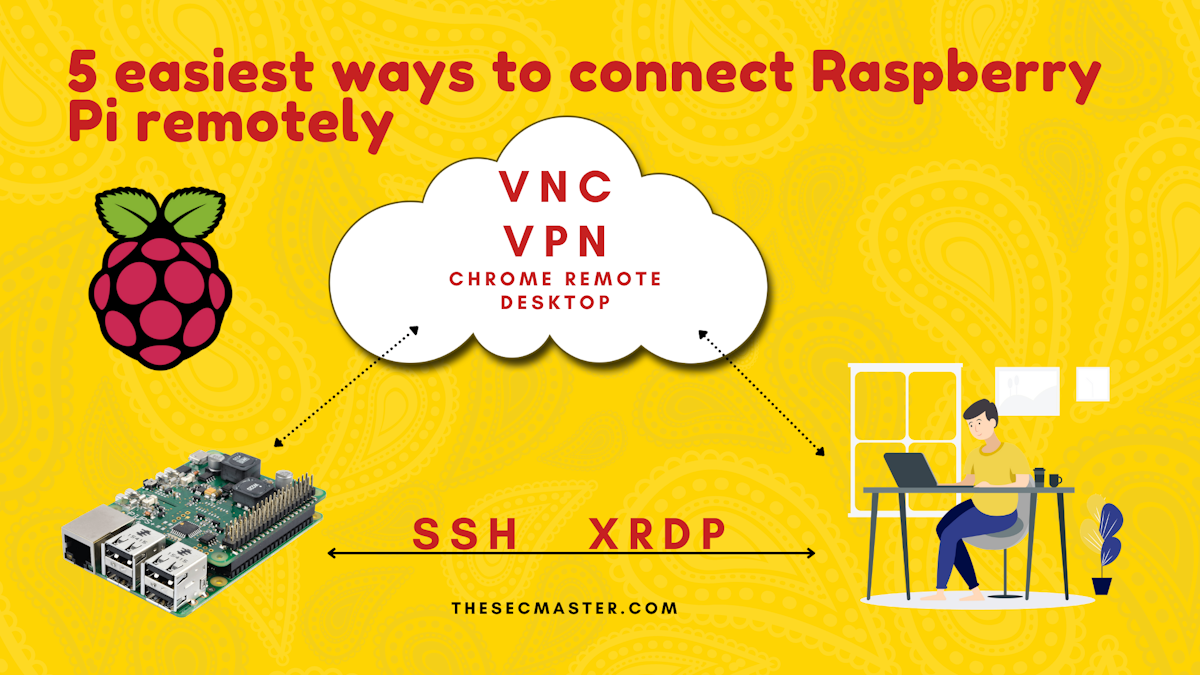
3 Easy Ways to Access Your Pi Over the Internet Remotely
There are many different solutions for remote access to Raspberry Pi, each with its pros and cons. The most common and effective methods involve either command-line access or a full graphical desktop environment. Here are three popular ways to connect:
1. Secure Shell (SSH) for Command Line Access
SSH, or Secure Shell Protocol, is commonly used to remotely access Raspberry Pi over the internet. It's often considered the safest way to remote access a Raspberry Pi on a local network, if properly configured, and its principles extend securely over the internet.
Why SSH? This is because SSH gives you secure remote access to your Raspberry Pi in a lightweight and fast way. SSH does this by creating an encrypted connection between your computer and the Raspberry Pi, ensuring that your data remains private and secure. While you can’t do everything via SSH (like running graphical applications directly), you'll find that 95% of the things you want to do remotely can be done quickly by just SSHing into the device. This includes running commands, managing files, installing software, and starting services.
How to Set Up: To set up your Raspberry Pi for remote SSH access, you typically enable SSH via the `raspi-config` tool on your Pi. Then, from your host computer, you can use an SSH client (like PuTTY on Windows or the built-in Terminal on Linux/macOS) to connect using your Pi's IP address and username. For internet access, you'll usually need to configure port forwarding on your router or use a VPN/cloud service like SocketXP to bypass NAT/firewalls.
2. VNC Connect for Full Desktop Environment
If you need to interact with your Raspberry Pi's graphical desktop environment, VNC (Virtual Network Computing) is your go-to solution. VNC has long been the best way to access any computer remotely on the same network, and recently, VNC Connect came out, offering robust remote access over the internet.
Why VNC? VNC allows you to see and control your Raspberry Pi's desktop exactly as if you were sitting in front of it. This is incredibly useful for tasks that require a graphical interface, such as browsing the web, using specific applications, or setting up new projects visually. You can now access your Raspberry Pi’s desktop environment securely from anywhere with internet access.
How to Set Up: VNC Connect is pre-installed on many Raspberry Pi OS images. You enable it via `raspi-config` and then create a VNC account. For persistent access, there's also an easy way to start VNC at boot. Similar to SSH, for internet access, you'll either configure port forwarding or use the cloud-based VNC Connect service which handles the remote connection securely.
3. Remote Desktop Protocol (RDP)
For users coming from a Windows environment, Remote Desktop Protocol (RDP) might feel more familiar. Since the Raspberry Pi acts as an RDP server (with appropriate software installed), you need an RDP client to connect to the Raspberry Pi.
Why RDP? RDP offers a full desktop experience, much like VNC, and is natively supported by Windows operating systems, making it straightforward to connect from a Windows PC. Microsoft Remote Desktop is also available for Mac and mobile devices.
How to Set Up: You'll need to install an RDP server (like `xrdp`) on your Raspberry Pi. Once installed and configured, you open the Remote Desktop Connection application on your Windows PC (or Microsoft Remote Desktop on Mac/mobile), enter the URL or IP address:port to connect, and you'll be presented with your Pi's desktop.
Other Solutions
Beyond these primary methods, there are specialized cloud-based IoT remote access and device management solutions like SocketXP or Remote.it. SocketXP, for instance, provides SSH access to remotely located IoT devices such as a Raspberry Pi, Arduino, NVIDIA Jetson, or any embedded Linux devices behind a NAT router or firewall over the internet using secure SSL/TLS VPN tunnels. These services can simplify remote access by handling complex network configurations like port forwarding, making them excellent options for more advanced or large-scale deployments.
Enhancing Security for Your Remote Raspberry Pi Access
While remote accessing your Pi is very convenient, it also comes with security risks. When your Pi is exposed to the internet, it becomes a potential target for unauthorized access. Here are some tips to help keep your Pi secure when accessed over the internet:
- Use Strong Passwords: This is fundamental. Use strong, unique passwords for all your Raspberry Pi accounts to avoid unauthorized remote access. Consider using SSH key-based authentication instead of passwords for SSH.
- Enable Two-Factor Authentication (2FA): If the remote access solution supports it, enable 2FA for an extra layer of security.
- Use a VPN: When accessing Raspberry Pi from a different network, use a VPN (Virtual Private Network). A VPN creates a secure, encrypted tunnel between your device and your home network, making it much harder for attackers to intercept your connection or find your Pi.
- Keep Software Updated: Regularly update your Raspberry Pi OS and all installed software. Updates often include security patches that fix vulnerabilities.
- Disable Unused Services: If you're not using certain services (e.g., FTP, Apache), disable them to reduce your Pi's attack surface.
- Change Default Ports: For services like SSH, consider changing the default port (22) to a non-standard one. This won't stop a determined attacker but will deter automated scanning bots.
Remember, SSH is generally considered the safest way to remote access a Raspberry Pi on a local network if properly configured. Extending this security to internet access requires careful consideration of the points above.
Tips for Maximizing Your Remote Access Experience
Now that we have learned how to access Raspberry Pi remotely, below are a few useful tips to maximize your experience:
- Static IP Address: Consider assigning a static IP address to your Raspberry Pi on your local network. This makes it easier to consistently connect to it.
- Dynamic DNS (DDNS): If your home internet service provider assigns you a dynamic public IP address, use a DDNS service. This allows you to access your Pi via a memorable hostname (e.g., `myraspi.ddns.net`) instead of a changing IP address.
- Automate Startup: For services like VNC or specific web applications, configure them to start automatically at boot. This ensures your Pi is ready for remote access even after a power outage or reboot.
- Monitor Resources: Keep an eye on your Pi's resource usage (CPU, RAM, storage) remotely. This helps you identify potential issues before they become critical.
- Refer to Tutorials: If you encounter specific issues, remember that there are many great tutorials online that will walk you through detailed setup steps for each method.
Final Summary
Remote internet access for your Raspberry Pi unlocks a world of possibilities, allowing you to manage and interact with your device from anywhere with an internet connection. Whether you prefer the lightweight command-line power of SSH, the full desktop experience of VNC or RDP, or the convenience of cloud-based solutions, there's a method that will work well for your project. By understanding the advantages, preparing your setup, choosing the right access method, and critically, prioritizing security, you can confidently control your Raspberry Pi fleet, save space, and streamline your projects, truly unlocking the full potential of your Raspberry Pi.

How to Access Your Raspberry Pi Remotely (Mac/Windows/Linux)

How to Access Your Raspberry Pi Remotely (Mac/Windows/Linux)
5 Simple Remote Access Methods for Raspberry Pi
