Unlock Your Raspberry Pi: Free Remote Access Over The Internet From Anywhere
Ever found yourself away from your Raspberry Pi, wishing you could just quickly check on a project, grab a file, or even restart a service? Maybe you're at work, a friend's house, or simply on the go, and the thought of needing physical access to your tiny computer is a hassle. Sounds pretty sweet, doesn’t it, to have that freedom?
You might already know how to access your Raspberry Pi from the same local network, but would like a similar solution for remote access, from work or a friend’s house. Fortunately, there are several easy and free methods to access and control your Pi over the internet. This allows you to work on projects and manage the Pi without needing physical access, truly unlocking its potential.
In this comprehensive guide, we will explore the most common and easy methods to connect to your Raspberry Pi remotely over a network or the internet. We'll show you how to access your Pi from anywhere, ensuring you can keep your projects running smoothly, monitor home security systems, or manage remote servers without being tied to a physical keyboard, mouse, and monitor. So, buckle up because we’re about to take you through everything you need to know to access Raspberry Pi remotely over the internet for free!
Why Access Your Raspberry Pi Remotely Over the Internet?
Accessing your Raspberry Pi remotely over the internet for free is an essential skill for hobbyists, developers, and professionals alike. It opens up countless possibilities and offers numerous benefits:
- Unrestricted Access: Access your Raspberry Pi from anywhere in the world, whether you're using Wi-Fi or even mobile data. Yes, you can use your mobile data connection to access your Raspberry Pi, provided your client device (laptop, phone, etc.) is connected to the internet through mobile data and you have configured one of the remote access methods (port forwarding/DDNS, tunneling service, or VPN).
- Convenience: No need for a dedicated monitor, keyboard, or mouse. This eliminates the need for extra peripherals, saving you money and space. Imagine managing a "fleet" of remote microcomputers – remote access becomes indispensable.
- Project Management: Work on projects, deploy code, and manage your Pi without needing to be physically present. This is especially useful for headless setups or Pis located in hard-to-reach places.
- Monitoring and Control: Ideal for home automation, security systems, or remote sensor networks. You can monitor data, send commands, and troubleshoot issues from afar.
- Cost-Effective: Many of the most powerful remote access solutions are completely free, making them accessible to everyone.
Getting Started: Initial Raspberry Pi Setup
Before you can access your Raspberry Pi remotely over the internet, you'll need to perform a basic initial setup and ensure it's connected to your local network. This typically involves:
- System Image: Insert an SD card with the Raspberry Pi OS system image into the Raspberry Pi.
- Initial Boot: Connect a display to HDMI, a mouse and keyboard to USB ports, and power your system. This allows you to complete the initial configuration, such as setting up Wi-Fi and enabling necessary services.
- Find Your Local IP Address: Once connected to Wi-Fi, you'll need to find your Pi's local IP address. You can often do this by checking your router's connected devices list or by running commands like `hostname -I` on the Pi itself. Check the block where the `general.type` field reads `wifi` to find the IP address. In this case, you can access this device using the `ipv4.address[1]` field.
- Enable SSH and VNC: For remote access, you'll need to enable SSH (for command-line access) and VNC (for desktop access) via the Raspberry Pi Configuration tool under the 'Interfaces' tab.
Free Methods to Access Your Raspberry Pi Remotely Over the Internet
There are three main ways to access your Raspberry Pi remotely over the internet, each offering different levels of access and requiring varying degrees of setup. In this comprehensive guide, we will explore the most common and easy methods.
Method 1: SSH (Secure Shell) for Command Line Access
SSH is the workhorse for remote command-line access. It's robust, secure, and often the first method people learn for remote management. SSH enables remote access to Raspberry Pi, allowing you to remotely connect to your Raspberry Pi over the internet, providing a convenient way to control and manage your device.
How to Set Up SSH:
- Enable SSH on Raspberry Pi: As mentioned, go to Raspberry Pi Configuration > Interfaces > SSH and enable it.
- Client Software: On your remote computer (laptop, phone, etc.), you'll need an SSH client.
- Windows: PuTTY is a popular free choice. Newer Windows versions also have OpenSSH built-in, accessible via Command Prompt or PowerShell.
- macOS/Linux: SSH is built into the terminal.
- Mobile: Many free SSH client apps are available for Android and iOS.
- Connect via SSH (Local Network First): To test, open your SSH client and enter your Pi's local IP address (e.g., `ssh pi@192.168.1.100`). You'll be prompted for your Raspberry Pi password.
- Connect via SSH (Over the Internet): This is where it gets interesting. To access your Pi over the internet, you'll need a way for your home network to be reachable from outside. The most common free methods are:
- Port Forwarding: You configure your home router to forward incoming SSH requests (typically on port 22) to your Raspberry Pi's local IP address. This requires a static public IP address or a Dynamic DNS (DDNS) service if your public IP changes. Be cautious with port forwarding as it exposes your Pi directly to the internet; ensure strong passwords and SSH key authentication are used. SSH is the safest way to remote access a Raspberry Pi on a local network, if properly configured.
- Tunneling Services: (Discussed in Method 3) These create a secure tunnel, bypassing the need for port forwarding.
- VPN: A Virtual Private Network can create a secure connection to your home network, making your Pi accessible as if you were on the local network.
- Connecting: Once you have a public IP/DDNS and port forwarding (or a tunneling service), you'll use your public IP or DDNS hostname. For example, in an SSH client, you might click "New Site" and give it a custom name, such as 'Raspberry Pi'. Enter your public IP or DDNS hostname in the host field, 'pi' in the user field, and your Raspberry Pi password in the password field. Click connect, and you will connect remotely to the Raspberry Pi. It will take a few seconds to establish a connection with the Pi, and then you will be able to access your Pi’s shell remotely through your SSH client or even a web browser window if using certain tunneling services.
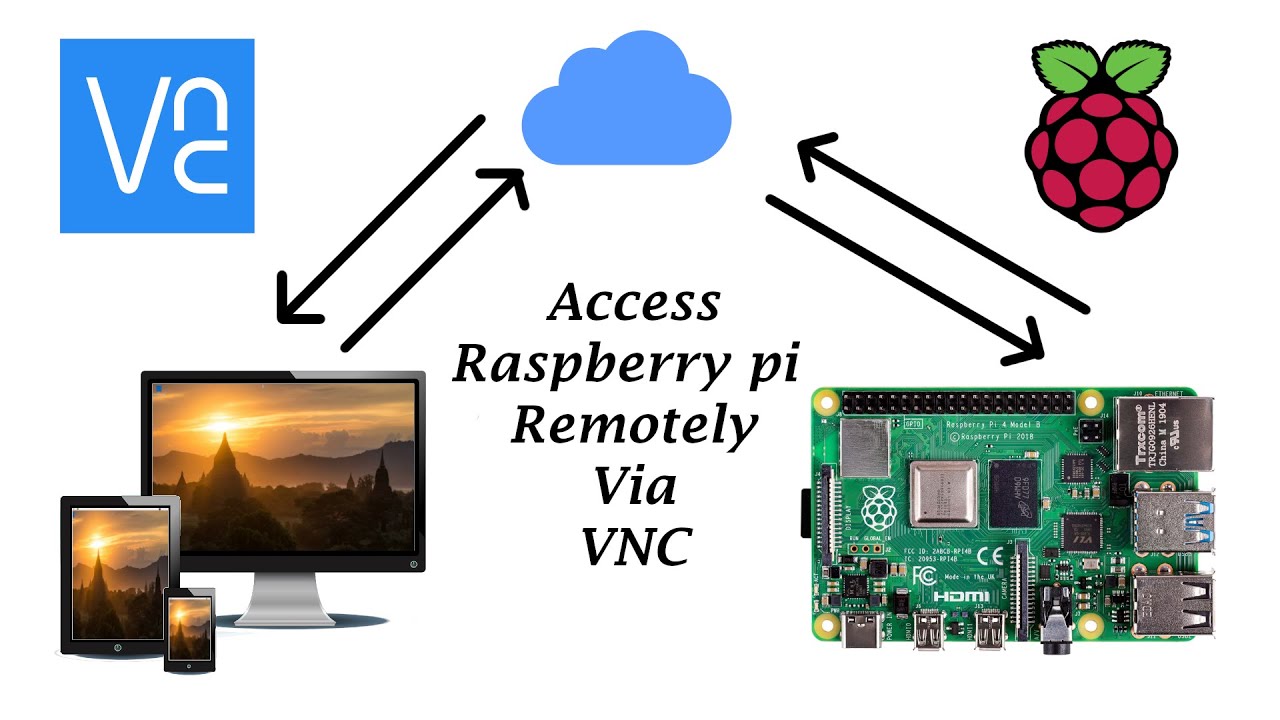
Method 2: VNC (Virtual Network Computing) for Desktop Access
While SSH gives you command-line control, VNC allows you to see and interact with your Raspberry Pi's full graphical desktop interface. This is incredibly useful for tasks that require a visual interface, like browsing, using applications, or configuring settings visually. VNC has long been the best way to access any computer remotely on the same network. Recently, VNC Connect came out to provide secure remote access solution for Raspberry Pi OS, allowing you to connect to your Raspberry Pi desktop and command line directly from any browser.
How to Set Up VNC:
- Enable VNC Server on Raspberry Pi: Go to Raspberry Pi Configuration > Interfaces > VNC and enable it. This will install the VNC server software on your Pi.
- Install VNC Viewer on Remote Computer: Now we can install VNC Viewer software on your remote computer to access your Pi over the internet. VNC Viewer is available for free across various platforms, including Windows, macOS, Linux, Android, and iOS.
- Connect via VNC (Local Network First): Open VNC Viewer and enter your Pi's local IP address. You'll be prompted for your VNC password (which you set during VNC server setup on the Pi).
- Connect via VNC (Over the Internet): Similar to SSH, to access your Pi's desktop interface remotely over the internet, you'll need a way to bridge the gap between your remote device and your home network.
- Port Forwarding: Forward the VNC port (usually 5900 or 5901) on your router to your Pi's local IP. Again, use strong passwords and consider a VPN for added security.
- VNC Connect: This is a highly recommended solution for Raspberry Pi OS. It's a secure remote access solution for Raspberry Pi OS, allowing you to connect to your Raspberry Pi desktop and command line directly from any browser. VNC Connect often handles the firewall and NAT traversal automatically, making it easier to set up for internet access without complex port forwarding. Remote log into your Raspberry Pi’s full operating system using VNC Connect.
- Tunneling Services: (Discussed in Method 3) Some tunneling services can also expose VNC ports.
- Final Step: The final step is to set up the VNC Viewer on the device you want to use to access your Raspberry Pi remotely. Enter the public IP/DDNS hostname or use the VNC Connect cloud ID, and you'll be able to see and control your Pi's desktop.
Method 3: Tunneling Services for Firewall/NAT Bypass
One of the biggest hurdles to accessing your Raspberry Pi remotely is dealing with firewalls and Network Address Translation (NAT) routers. Your home router typically assigns your Pi a private IP address, which isn't directly reachable from the internet. Port forwarding can solve this, but it can be complex to set up and might pose security risks if not done correctly. This is where tunneling services shine.
Solutions like TeamViewer, VNC Connect, or SocketXP can provide remote access to a Raspberry Pi over the internet, often bypassing the need for manual port forwarding. These services create a secure tunnel from your Pi to their cloud servers, allowing you to connect to your Pi through their platform, even if your Pi is behind a firewall or NAT router.
Examples of Tunneling Services:
- SocketXP: SocketXP is a cloud-based IoT remote access and device management solution that provides SSH access to remotely located IoT devices such as a Raspberry Pi, Arduino, NVIDIA Jetson, or any embedded Linux devices behind a NAT router or firewall over the internet using secure SSL/TLS VPN tunnels. The key benefit here is that there's no need to discover the IoT device IP and change any firewall settings. You can directly connect to your Raspberry Pi behind a firewall from anywhere as if it was on the local network, and even send commands and batch jobs to your Raspberry Pi from a web portal.
- VNC Connect: As mentioned, VNC Connect offers a cloud-based solution that simplifies remote desktop access over the internet, handling the complexities of network configuration.
- Other Tunneling Tools (e.g., ngrok): While not specifically mentioned in the data, tools like ngrok can create secure tunnels to expose local services (like SSH or a web server running on your Pi) to the internet. Many offer free tiers for basic usage.
These services are particularly useful if you have a dynamic public IP address (which most home internet connections do) and don't want to set up a DDNS service. They simplify the process significantly by handling the public IP and port mapping for you, often providing a web-based interface for management.
Choosing the Right Method for You
With several free options available, how do you choose the best way to remote access your Raspberry Pi?
- For Command Line Only: SSH is your best bet. It's lightweight, secure (when configured properly with SSH keys), and highly efficient for managing your Pi without a graphical interface. From the SSH method of remote terminal access to Raspberry Pi Connect, there is a remote access method that will work well for your project.
- For Full Desktop Interface: VNC is the way to go. If you need to interact with the desktop environment, run graphical applications, or simply prefer a visual interface, VNC provides a seamless experience.
- For Firewall/NAT Bypass: If you struggle with port forwarding, have a dynamic IP, or want a simpler setup, tunneling services like SocketXP or VNC Connect are excellent choices. They often provide an "out-of-the-box" solution for internet access.
- For Ultimate Security & Flexibility: A VPN (Virtual Private Network) can provide a highly secure way to access your entire home network, including your Pi, as if you were physically there. While setting up a VPN server on your home router or another always-on device can be more complex, it offers unparalleled security and flexibility.
Remember to prioritize security. Always use strong, unique passwords for your Raspberry Pi. For SSH, consider setting up SSH key authentication instead of password-based login for enhanced security. Regularly update your Raspberry Pi OS to ensure you have the latest security patches.
Final Summary
Accessing your Raspberry Pi remotely over the internet for free is not only possible but also incredibly beneficial for hobbyists, developers, and professionals. It frees you from the need for physical access, allowing you to manage projects, monitor systems, and deploy code from anywhere in the world. We've explored key free methods including SSH for secure command-line control, VNC for full graphical desktop access, and tunneling services like SocketXP that simplify connectivity by bypassing complex firewall and NAT configurations. By understanding these options and their respective setup processes, you can choose the most suitable method to keep your Raspberry Pi projects running smoothly, securely, and remotely, opening up countless possibilities for innovation and convenience.

How To Remotely Access Raspberry Pi For Remote IoT Projects (Free Guide)

how to access Raspberry Pi remotely | MaidaTech
How to access Raspberry pi remotely with VNC direct connection and
